

A remote has several visible outer parts and internal sections that support power control, menu navigation, number entry, playback, signal sending, and battery power. The main groups include the remote body, top control buttons, navigation and number buttons, lower signal parts, and battery and internal parts, while smaller features such as the voice button, IR emitter, LED indicator, and circuit board help each section perform a more specific role.
First, it helps to see the remote as one connected control device rather than a list of separate names. You’ll learn how each remote part looks, what it is used for, and how to tell one from another, while also seeing how the top buttons manage power and input, the center controls handle navigation, number entry, and playback, and the signal and battery parts work together to send commands to the device and keep the remote working properly.
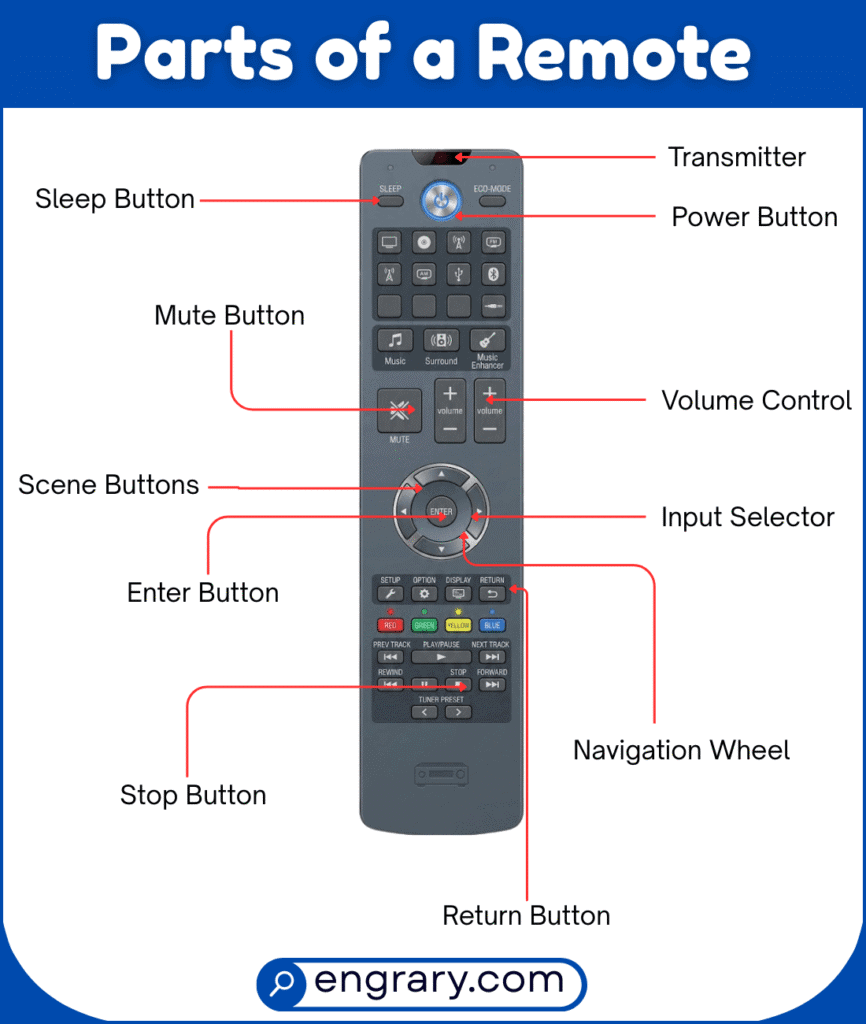
Remote Parts Labeled Diagram
The diagram below shows the main visible parts of a remote and how they are arranged across the front, lower end, and back section. It highlights key areas such as the body, top buttons, navigation controls, signal area, and battery section so readers can recognize each labeled part more easily.
Main Remote Body Parts
Remote Body
The remote body is the full outer structure that holds all the buttons and internal parts together. It gives the remote its overall shape and supports the full layout.
Outer Casing
The outer casing is the hard shell around the remote. It protects the inside parts and forms the visible outside surface.
Remote Shell
The remote shell is the hard outer covering that surrounds the remote body. It helps protect the inside parts and supports the remote’s overall shape.
Front Face
The front face is the front outer side where most of the buttons are placed. It forms the main control surface of the remote.
Back Cover
The back cover is the rear panel that closes over the battery area or internal section. It helps protect the inside parts from the back.
Rear Panel
The rear panel is the back outer section of the remote. It forms the rear surface and helps cover the inside parts from behind.
Power And Top Control Parts
Power Button
The power button turns the connected device on or off. It is usually one of the most important buttons on the remote.
Input/Source Button
The input or source button changes the device input or signal source. It helps users switch between connected devices or viewing modes.
Voice Button
The voice button activates voice-control features on some remotes. It allows spoken commands to be sent through the remote.
Microphone
The microphone receives the user’s voice when voice control is active. It works with the voice button on supported remotes.
Mute Button
The mute button turns sound off quickly without changing the main volume setting. It helps control audio with one press.
Navigation, Number, And Playback Button Parts
Navigation Pad
The navigation pad is the group of directional buttons used to move through menus and options. It helps users go up, down, left, or right on the screen.
OK/Select Button
The OK or select button confirms a choice or opens a highlighted item. It is often placed in the center of the navigation pad.
Home Button
The home button takes the user back to the main screen or start page on supported devices. It provides quick access to the main menu.
Back Button
The back button returns to the previous screen or menu step. It helps users move backward through menu paths.
Menu/Settings Button
The menu or settings button opens extra options or system controls. It helps users access more detailed functions of the device.
Volume Buttons
The volume buttons raise or lower the sound level. They are commonly placed in a vertical pair on the remote.
Channel Buttons
The channel buttons move up or down through available channels on supported devices. They help users change channels quickly.
Number Buttons
The number buttons are used to enter channel numbers, codes, or values directly. They usually appear in a grouped keypad layout.
Playback Buttons
The playback buttons control media actions such as play, pause, rewind, or fast forward. They are often used with streaming or recording devices.
Shortcut Buttons
The shortcut buttons open specific apps or functions with one press. They give quick access to selected services or features.
App Shortcut Button
The app shortcut button opens a specific app or service with one press. It helps users reach common streaming or media functions more quickly.
Lower And Signal Parts
IR Emitter
The IR emitter is the part at the front end of the remote that sends infrared signals to the device. It helps carry button commands from the remote to the screen or system.
Infrared Window
The infrared window is the clear or dark front cover over the signal area. It protects the signal part while allowing the infrared beam to pass through.
Signal Lens
The signal lens is the front covering over the remote’s signal end. It helps protect the signal area while allowing the command signal to pass through.
LED Indicator
The LED indicator is the small light that shows activity on some remotes. It may blink when a button is pressed, when pairing starts, or when the battery is low.
Battery And Internal Parts
Battery Cover
The battery cover is the rear panel that opens or slides off to reach the battery area. It helps protect the battery section during normal use.
Battery Compartment
The battery compartment is the space inside the remote where the batteries are placed. It holds the batteries in position so the remote can receive power.
Battery Terminal
The battery terminal is the metal contact point inside the battery compartment. It connects the battery to the remote’s power system.
Battery
The battery supplies electrical power to the remote. It allows the buttons and signal parts to work properly.
Circuit Board
The circuit board is the internal board that connects the buttons and signal parts inside the remote. It helps process button presses and send commands.
Pairing Button
The pairing button is used on some smart remotes to connect the remote to a device. It helps start or reset the wireless connection process.
Charging Port
The charging port is the opening used to charge a rechargeable remote. It connects the remote to a power source with a cable.
Key Takeaways
A remote works through connected outer, button, signal, and battery parts that each support a specific job. The body and casing hold the structure together, while the top controls and navigation buttons help users manage power, menus, sound, channels, and playback. Meanwhile, the lower signal parts send commands to the device, and the battery and internal parts supply power and support button response. Together, these sections make the remote easier to understand as one complete control device.
FAQs
The main parts of a remote include the body, control buttons, signal area, battery section, and internal parts. Each section helps the remote send commands and work with a connected device.
The IR emitter sends infrared signals from the remote to the device. It carries the button commands so the device can respond.
The battery cover is the outer panel that closes the battery area, while the battery compartment is the inside space that holds the batteries.
The navigation pad helps users move through menus and on-screen options. It is used for directional control.
The pairing button is used on some smart remotes to connect the remote to a device. It helps start the pairing process.
Smart remotes may include a voice button, microphone, pairing button, shortcut buttons, and charging port. These parts support voice control, wireless setup, and rechargeable use.
You May Also Like


